Wednesday, December 4, 2013

Winterize Your Beauty Routine: Moisturizing Must Have Makeup


Calling all dry-skinned snow bunnies! Does your face feel dry, itchy, and flaky all day no matter how much moisturizer you slather on at night? This has been me, every winter, for most of my life. This year, I say no more!

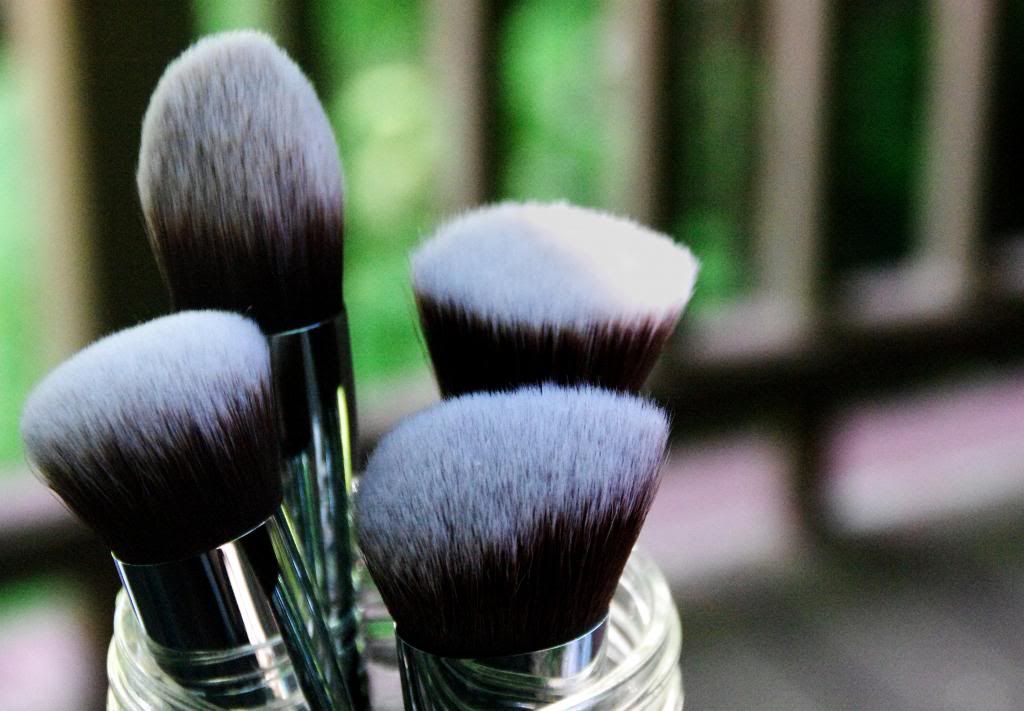
I'm fighting winter dryness 24/7 with this seriously moisturizing makeup routine, without sacrificing an ounce of glam. The best part is, these products apply quickly and easily, perfect for a 5-minute face!


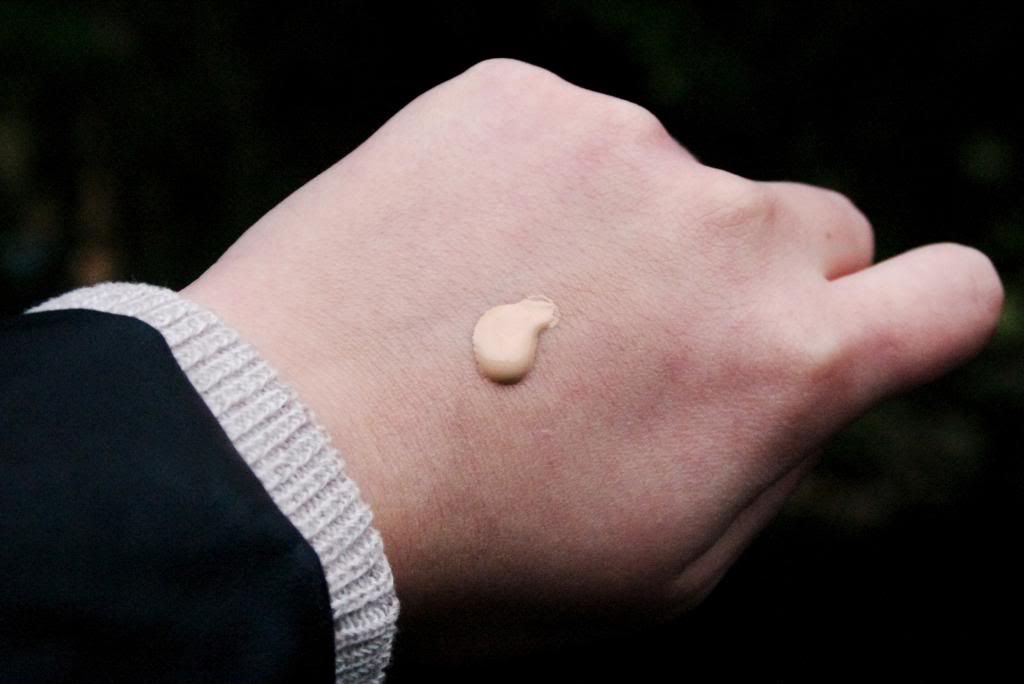
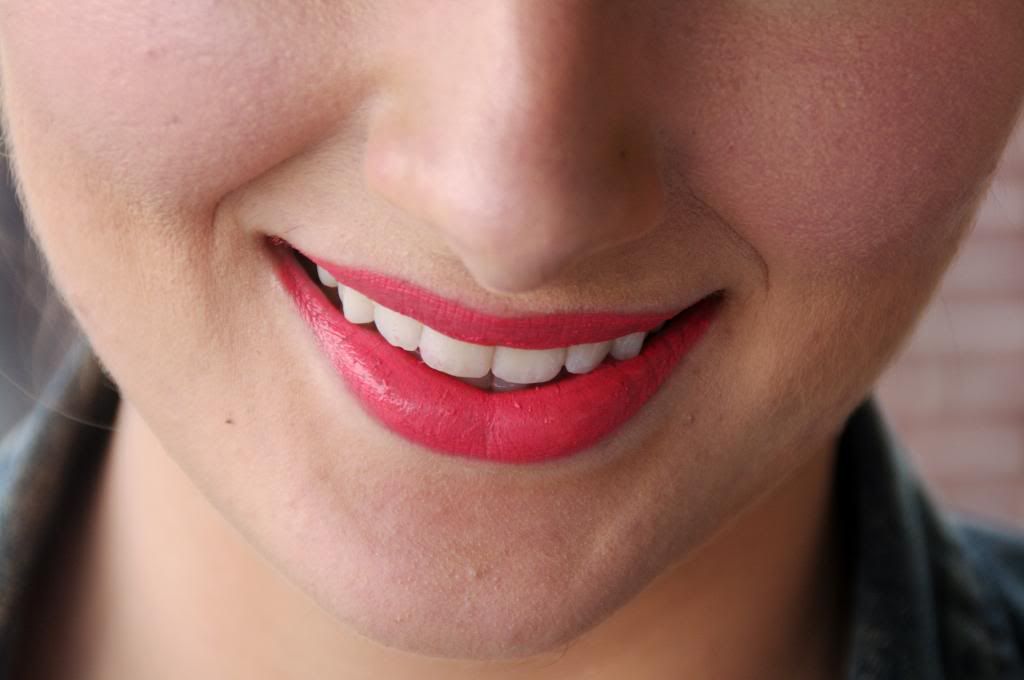
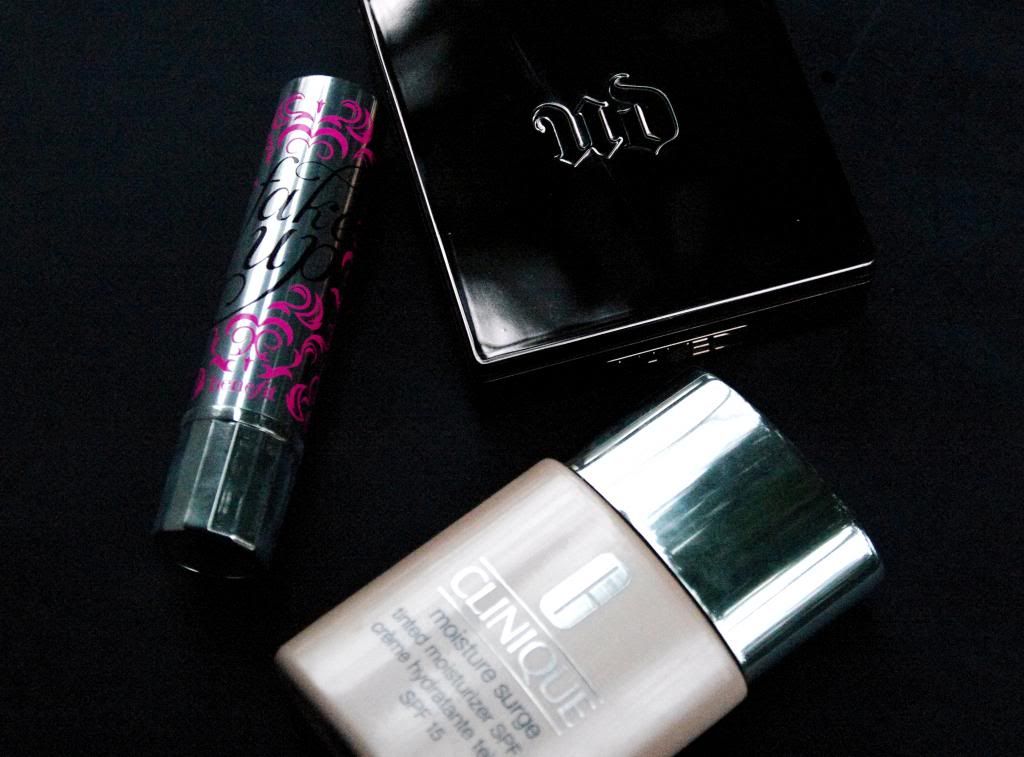
For my first winter skin swap, I shelved my beloved Clinique Even Better Foundation in favor of their Moisture Surge Tinted Moisturizer. I've been devoted to full coverage foundation my whole life, but this tinted moisturizer actually has pretty great, and very buildable coverage. It covers general redness and uneven skintone with ease, only letting hyper pigmentation show through (though that's nothing winter must-have concealer can't handle!). Most importantly, this product packs some serious moisturizing punch and is so lightweight it won't feel heavy or irritate even the most sensitive dry winter skin.


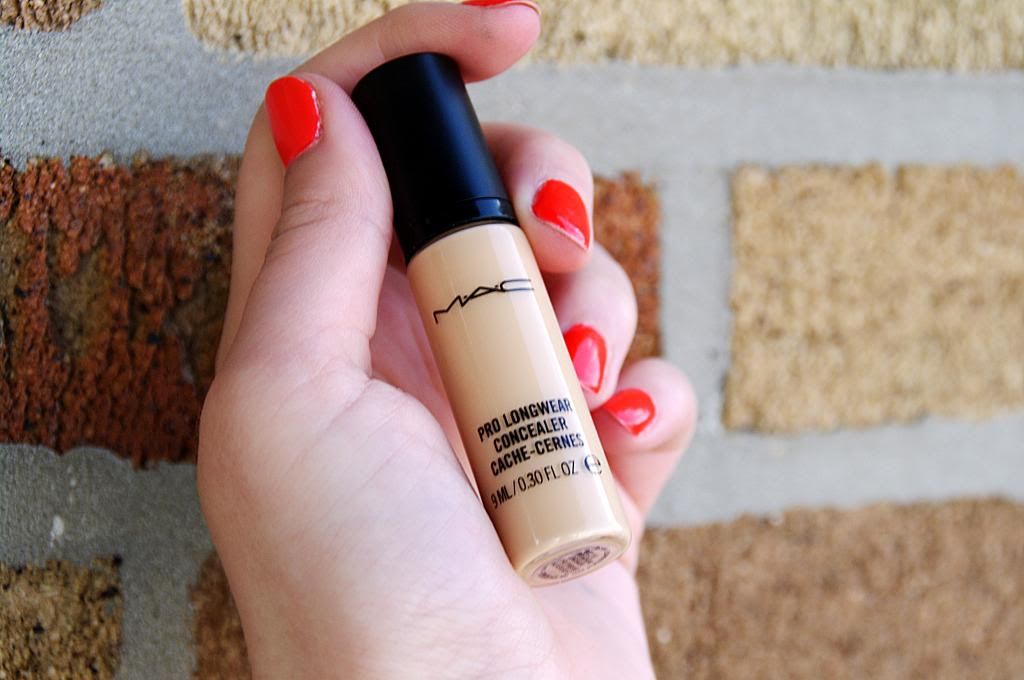
Next up is Benefit's Fake Up Concealer, a seriously moisturizing crease control concealer. This product comes in a lipstick-like twist up tube that has a color corrector running through the middle of a clear, moisturizing balm. When I say this product is moisturizing, I mean moisturizing! This puppy hydrates like a dream. I use the lightest of this product's three colors and apply it under my eyes, on my forehead, chin and down the bridge of my nose (I outlined this technique in my post here) and blend with gentle patting motions with my fingers. This product gives you quick and dirty full on glam, and I am in love.


I finish up my winter makeup routine with for Urban Decay's Naked Skin Ultra Definition Pressed Finishing Powder. Most powders are too heavy and end up looking cakey on skin that's parched and flakey. Not this baby! It's ultra-lightweight, unbelievably comfortable on the skin, and while it doesn't pack a coverage punch it does wonders for blurring out imperfections and making my tinted moisturizer last and last.

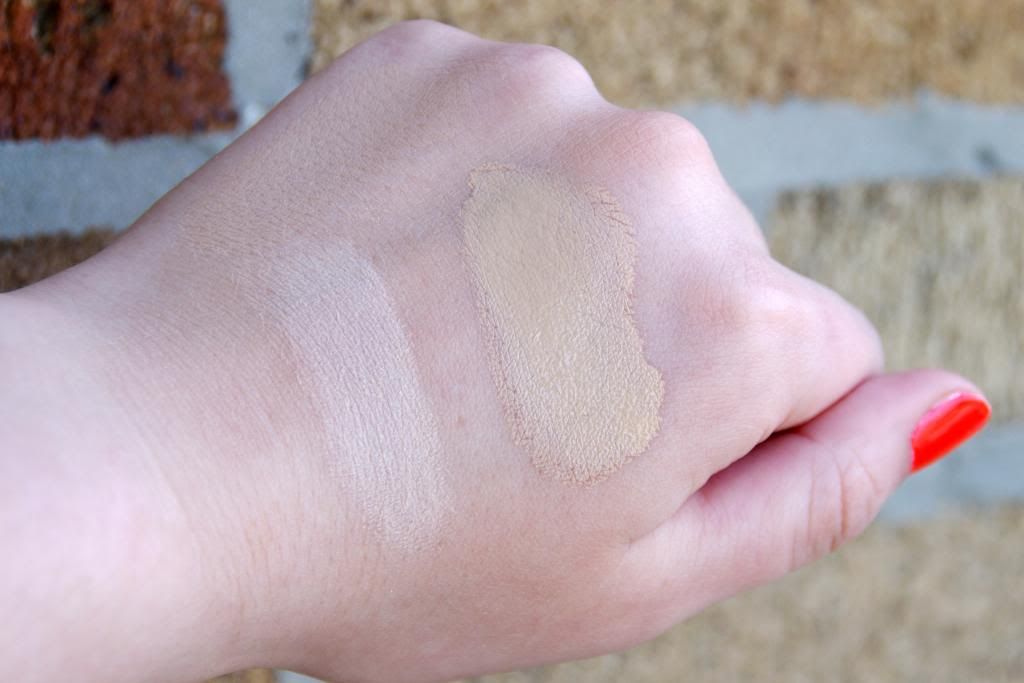
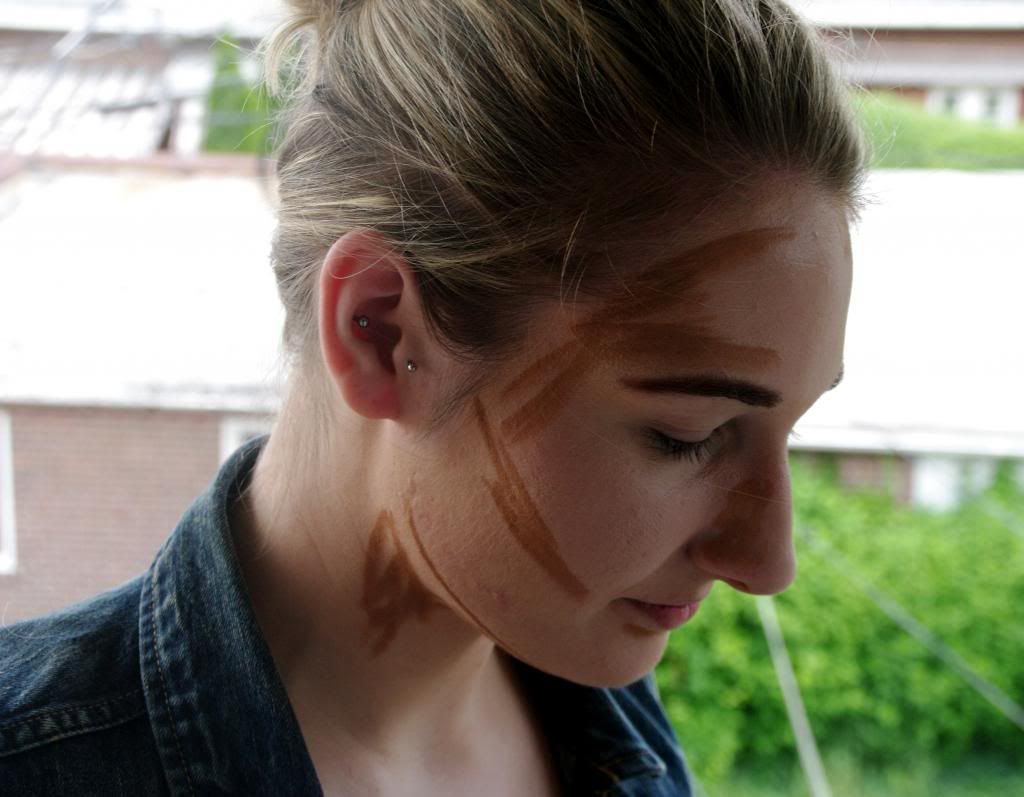
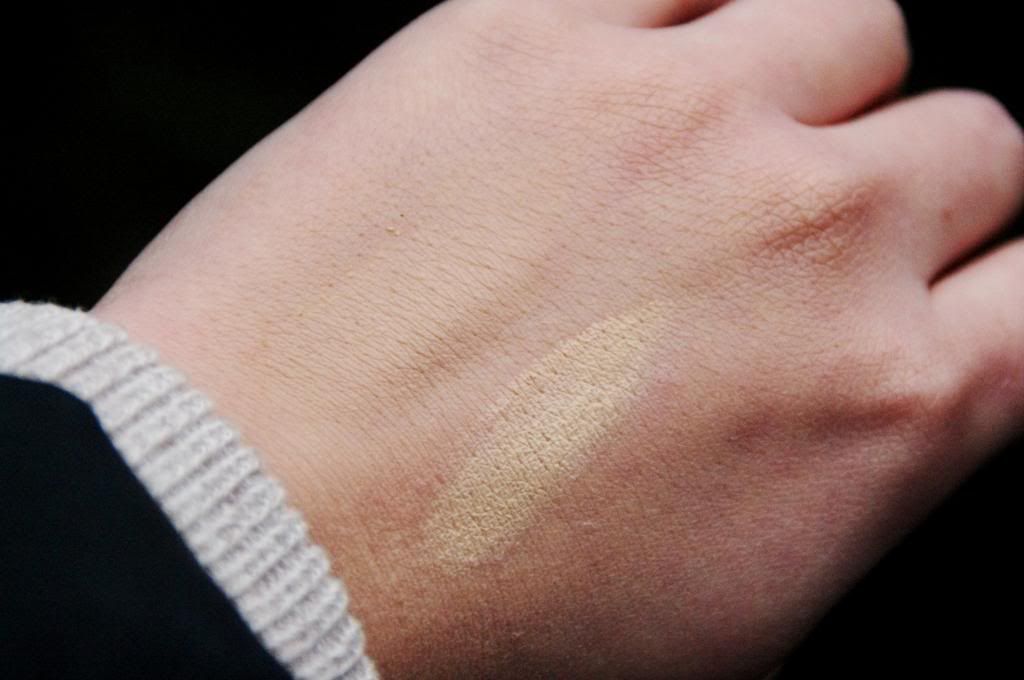
Swatches: Top - Naked Skin Pressed Powder in Naked Light; Bottom - Fake Up Concealer in 01 Light

I hope you've enjoyed this post! Do you change anything in your beauty routine for winter? Let me know in the comments below and don't forget to follow me on bloglovin!

xoxo - Katie
Sunday, October 13, 2013

Liquid Foundation's Best Friend: Sigma Synthetic Kabuki Brush Set Review


I'm a HUGE MAC makeup brush devotee, but if you promise not to tell, I'll let you in on a little secret:

I don't love MAC's brushes for foundation (and I've tried them all). Not the classic 190, not their duo fibres for stippling, not even the much loved small bristled 109. (It's shocking, I know.)

I'm all for full coverage makeup (in fact, I'm a full coverage girl 12 hours a day, 365 days a year), but all of my MAC foundation brushes make my liquid foundation nearly impossible to blend and cause it to never sink into my skin. My beloved Clinique Even Better, which I've been using for years, sits on top of my skin ready to play slip and slide at even the slightest of provocations.

Enter Sigma's Synthetic Kabuki brushes. I've never before loved the results I've gotten from synthetic brushes, but somehow, for my liquid foundation, these brushes WORK.


The kit contains four brushes, the F80 Flat Kabuki, F82 Round Kabuki, F84 Angled Kabuki and the F86 Tapered Kabuki. All of the brushes bristles are heavenly soft and unbelievably dense, and they all (drumroll ladies and gentleman) make you look like an airbrushed goddess.

I apply my liquid foundation with the flat, round, and angled kabukis by first spritzing them with some MAC Fix+ (it makes your foundation look dewey, like you're glowing from within!), and using a soft of combination stipple-swirl technique over my face and down my neck. The tapered kabuki is excellent for applying concealer underneath your eyes, down you nose and on the center of your chin and forehead like I outlined in my post about Kim Kardashian's highlighting technique.


My favorite part about this kit is that you get four brushes for a reasonable price ($67). I refuse to use dirty makeup brushes to apply foundation (I'm acne prove so I have to be very careful with my skin!), and having four brushes to apply foundation with lets me get away without having to wash my brushes every. single. day.

These brushes do have the tendency to absorb a lot of product and can be hard to clean. I've found the best product for getting them back in tip top shape is Dr. Bronner's Mild Pure Castille Soap. This stuff works waaaay better than baby shampoo at getting the gunk out of the super dense kabuki bristles.


I purchased my Sigma Synthetic Kabuki Brush Set from Amazon for $67.

What's your favorite way to apply foundation? Do you have any holy-grail brush finds to share? Let me know in the comments below and don't forget to follow me on bloglovin!

XOXO - Katie


Thursday, September 5, 2013

Hair Care Routine - Healty, Sexy Hair!


I go through phases of interest with beauty products. For a few weeks I’ll be completely obsessed with blush. I’ll only buy blush, coordinate my makeup looks around my blush color, eat, sleep, breathe blushes. Then without warning it will be bronzer. I’ll look at all of my bronzers one morning and decide I don’t have nearly enough. Then, for weeks, I’ll be all about bronzer.

For a long time I’ve neglected my hair. I’ve been wrapped up with various makeup product micro-obsessions while my hair gets nothing more than a splash of cheapie drugstore shampoo and a quick comb out with the matching conditioner. It's been a completely uninspired, amazingly monotonous, wash and go routine.

Then all of a sudden one day at Ulta I couldn’t bring myself to spend any more money on boring-but-it-will-suffice shampoo and conditioner. As I stood there in the drugstore section of my Ulta, all of a sudden, I was inspired to take special care of my hair.

Now, I’m not the sort of person who buys a product on a whim. For me, half the fun is researching a new product, reading blog posts, watching youtube videos, scouring makeupalley reviews. I LOVE that stuff (it’s a big reason I was inspired to create my own beauty blog!). So even though I was suddenly all about my hair, I wasn't ready to shell out $30 for a bottle without doing my research.


Without the time to properly prepare to make a hair care investment I decided to pick up a shampoo and conditioner duo whose price point seemed more reasonable for a spur of the moment purchase. Little did I know, my new $15 shampoo and conditioner would be my new holy grail!

The shampoo is sulfate-free, which I wasn’t thrilled about at first. Sulfate-free shampoos are better for your hair because they don't strip your hair and scalp of their natural oils. This improves the health of your hair over time and will teach it to regulate it's oil production, but it usually comes at a price; a fairly lengthy adjustment period where your hair is WAY more oily than usual.

Somehow, though, this shampoo bypasses that oily stage and takes you straight to shiny, healthy, not-too-oily hair, no two weeks of up-dos or hair turbans necessary!

This duo made took about a week to make my color treated hair softer, shinier, and LESS greasy than usual! I honestly can't remember ever being this pleased with a shampoo and conditioner. What a difference they've made!


The leave-in conditioner is an added bonus, I've actually been using this for years as a way to detangle and protect my locks before my daily blow-dry. It adds to the shine and moisture, but I take care to spray sparingly and only at my roots where my hair needs extra moisturizing care.

The shampoo, conditioner and leave-in spray can be purchased at Ulta online or in stores.

I hope you enjoyed this review! Don't you love it when you have beauty serendipity, and a prefect product just seems to fall into your lap?

What are your hair care staples? Let me know in the comments below and don't forget to follow me on bloglovin!

xoxo - Katie

Thursday, August 8, 2013

Line I Love: Kenneth Cole Jewelry


Hello all! Today's post is something I've been planning for quite a while. It's all about my all-time favorite jewelry line, Kenneth Cole. I discovered this line at a Macy's counter many, many years ago but to this day a look at my jewelry box will tell you just how timeless I've found this line.


The jewelry is mostly simple, comprised of clean but organic shapes. Their earring, necklaces, rings, bracelets; all minimalist with a twist.

Some pieces are almost sculptural, like something my eccentric (but also favorite) sculpture professor might have had hanging in his studio. The sculptural elements don't make them hard to wear, though. The pieces are never too much, they are always very effortless chic.


Even the simplest of studs or a clean long chain necklace have an artsy twist.


Kenneth Cole jewelry typically retails from $20 to $50 dollars, keeping it on the more affordable end of designer jewelry. To browse what pieces internet retailers have to offer a great place to look is polyvore, here.

Do you have a particular brand that dominates your jewelry box? Let me know in the comments below and don't forget to follow katie'sbeautique on bloglovin!

xoxo - Katie
Thursday, July 11, 2013

How To Highlight Like Kim Kardashian

No matter what your opinion is of Kim K. you can't deny that this girl's makeup is flawless! One of the hallmarks of her bombshell makeup looks is a face sculpting, lit from within glow curtoursy of a genius concealer highting technique her makeup artists use.

The concealer highlighting technique places a lighter-than-skintone shade of concealer on the areas you would typically highlight: cheekbones, nose forehead and chin.


I've been playing around with this technique for a couple of months now, trying tons of different products in an attempt to achieve the perfect replication of this iconic Kim K look. After LOTS of trial and error I've finally found the products that work best for me from where else but my favorite brand, MAC!


MAC's Pro Longwear Concealer is the perfect concealer for this look. It is densely pigmented while still being extremely blendable; it takes no time to seamlessly blend this product into your foundation. You can place and blend this product with your fingers but I've found that using a brush really helps make this heavy conceler look it's best. I like to place and blend this product with a foundation brush like MAC's 190 or with the pointy end of my beautyblender.

For this look you should pick a concealer that's a couple shades lighter than your skintone, so while it's perfect for under eyes you'll still need another concealer to conceal any other redness or blemishes!


To set the concealer and intensify the highlight I LOVE using MAC's iconic Mineralize Skinfinish Natural in Light. In addition to setting the concealer this product has a gorgeous, subtle sheen that makes your face glow and keeps the look fresh instead of heavy. I use MAC's 188 Small Duo Fibre Face Brush to place this powder over the concealer, it picks up just the right amount of product and it's the perfect size for precise application.


With so much matte highlighting it's easy to get washed out by this look. It's essential to warm up the rest of your face with a powder that matches your skin tone (I use MAC's Mineralize Skinfinish Natural in Medium) or for a more dramatic look, you can warm up even more by applying your favorite bronzer.

Swatches left to right: MAC Mineralize Skinfinish Natural in Light, MAC Pro Longwear Concealer in NC20


This crazy pic is a quick breakdown of where you should place the concealer and powder highlight to achieve Kim K's look. The lighter-than-skintone concealer and powder should be applied to the areas that are circled in black while all remaining areas of your face should be warmed up with a skin-tone matching powder or darkened with a bronzer.

Here's a quick breakdown of the products mentioned in this post:
MAC Pro Longwear Concealer, $18, can be found here.
MAC Mineralize Skinfinish Natural, $30, can be found here.
MAC 190 Foundation Brush, $33, can be found here.
MAC 188 Small Duo Fibre Face Brush, $35, can be found here.
(can you tell I've been lovin' on MAC recently? ;)

I hope you liked this post! Have you tried out this dramatic highlighting technique? Let me know in the comments below and don't forget to follow Katie's Beautique on bloglovin!
Monday, July 8, 2013

MAC Mineralize Charged Water Moisture Eye Cream Review


I've finally, FINALLY found it! My HG eye cream! MAC Mineralize eye cream, I pledge my undying love to you.

Unlike all of the eye creams I tried to love before, you don't sting my super-sensitive skin. You never make me wait; you sink right into my skin. Best of all, you're such a smooth operator, making my under eye concealer look better, brighter and more even than ever!


This product really is the perfect daytime eye cream. With it's gel-like consistency this product provides exceptional moisture payoff and still doesn't demand any of the typical trade-offs we've come to expect from a daytime eye cream: you spend absolutely no time waiting for the product to set, and most importantly you don't sacrifice the look or staying power of your under eye concealer at all.


If you don't have particularly dry skin, this eye cream would be great for both day and nighttime use. I personally love to slather on super-rich moisturizing products right before bed, but until I find the perfect thick, non-irritating nighttime cream I will be religiously slathering this baby on for both day and night.


The product costs $35 and can be found at MAC Cosmetics here.

I hope you enjoyed this review! What eye cream do you use? Let me know in the comments below and don't forget to follow me on bloglovin!

xoxo - Katie
Friday, July 5, 2013

Inspired Fashion: Gelato

The summer is heating up, and the hotter it gets the more I crave...gelato! No other sweet treat delights the senses like the fresh flavors and bright colors of gelato. Of course, nobody does gelato like Italy does gelato.


Unfortunately, a $2,000 plane ticket stands between me and my favorite frozen treat, but that won't stop me from translating the refreshing, colorful fun of gelato into a playful summer outfit!


Gelato Look

Gelato Look by katiesbeautique

What inspired me to create this outfit was the giddy, child-like excitement you get when you walk into an italian Gelateria! Simple stripes and high wasted shorts are made playful by bright, candy colored jewelry, nail polish and a big bow for your hair! To keep it from going too girly I added a menswear style saddle bag and a simple pair of cut out flats.

I hope you enjoyed this post! How are you doing beating the heat this summer? While real Italian gelato is a little out of my reach I have been relying of lots of fro-yo to keep me cool ;) What's your favorite summer treat? Let me know in the comments below and don't forget to follow me on bloglovin!
Monday, June 24, 2013

Essie Neon 2013 Summer Saturday Disco Fever Swatch and Review


Hello Halloween! Oh wait, it's June?! This neon, traffic cone orange would be formerly relegated to only gracing my nails during my favorite fall holiday. This summer's neon trend, though, makes this color wearable all season long!

In the bottle this color looks like a bright orange-red. On the nail, though, this color loses any hints of red and just leaves you with bright, shiny, neon orange. At first I was completely put off; I was expecting red! Not being  one to waste a manicure, though, I stuck it out and have been sporting this color for about a week now. It took me a while, but now I'm totally into it. I'm even thinking of doing a two week repeat (wearing the same color twice is almost uneard of for me!).

The formula is streaky on the first coat but levels out by the second. I applied this over the white base polish, blanc, that Essie suggests for all the colors in their 2013 neon collection. The wear time is excellent, I only noticed slight wear on the tips of my nails by day 5.

I hope you enjoyed this review! Have you tried out any bright neon colors for your nails this summer? Let me know in the comments below and don't forget to follow me on bloglovin!

xoxo - Katie
Friday, June 21, 2013

Inspired Fashion: The Amalfi Coast

Last year I was lucky enough to spend four months studying abroad in Italy. The entire country is filled with luxurious scenery, colors, smells and tastes; but nowhere is more breathtaking than the stunning vistas of the Amalfi Coast!

It's the first day of summer, and I'm dreaming of Amalfi. Sitting on the black sand beaches, wine cooler in hand, the hills of Positano rising behind me. Sigh. A girl can dream!


Unfortunately, jetting off the the Italian coastline is not on my horizon. So what's an Italian-at-heart to do? Put together an Amalfi inspired outfit of course!

Amalfi Coast Inspired Beach Look


 The retro beach vibe of this outfit was inspired by the feeling of timelessness you get on the coast. The natural beauty of the islands is largely untouched. The houses clinging to the cliff faces have been there for centuries. A great pair of cat eye sunnies and a retro-striped beach bag would fit perfectly into the scenery.

Of course, when making an Amalfi outfit, your can't leave out the blues. I'm loving patterned shorts this season, and this sea-foam green pair screams beach chic. The combination of blues and greens in the jewelry is gorgeous, and reflect the variety of stunning colors you find on the coast!

Thanks for reading! Are you dreaming of a seaside escape on this first day of Summer? Let me know in the comments below and don't forget to follow Katie's Beautique on Bloglovin

xoxo - Katie
Thursday, June 20, 2013

Make Up For Ever Aqua Rouge Lipcolor in Coral Swatches and Review

Believe it or not, I'm a low maintenance makeup kind of girl. I covet products that I can apply once a day, that still look as good at hour 12 as they did first thing in the morning. Consequently, I neglect my lip products more than any other product in my makeup arsenal.

That's not to say I don't appreciate me some gorgeous lip color, I just don't have the patience required to reapply every few hours or worry about smudging every time I take a sip of water or want to nibble on some food.

Enter Make Up For Ever Aqua Rouge lipstick. This product grabbed my attention the second I heard it's marketing appeal as an ultra-pigmented, smudge proof lip color. I didn't hesitate to snatch one up to see if these claims really be true. Could I really have low maintenance, high voltage lip color? Amazingly, with this product, I can!


The color this lipstick provides is intense and vibrant. This coral color especially is not for the statement lip shy! What is really flooring about this product, though, is how it refuses to budge. Once it sets (which is very fast, you have to be pretty quick when applying to get even coverage!) I haven't found any food or drink that can get this product to smudge or fade. Amazing!


The product takes two steps to apply. On one end of the wand you'll find a doe foot applicator to apply the color. The other end contains a clear gloss designed to add shine and protect the color to help make it last. If you prefer a matte finish you can easily skip the gloss, but I have found it to be helpful when first applying to smooth and even out the color.


Top: MUFE Aqua Rouge Lipcolor in #18 Coral. Bottom: Clear gloss


Lips before application.


Lips after application.

Make Up For Ever Aqua Rouge Lipcolor is $24 and can be found here at Sephora.

I hope you enjoyed this review! I'm so excited I've found this product! I can't wait to try out more colors. What's your favorite long wearing lip products? Let me know in the comments below and don't forget to follow Katie's Beautique on bloglovin!

xoxo - Katie 
Wednesday, June 19, 2013

A New Way To Contour: L’oreal True Match Crayon Concealer

Ah, contouring. To me this is one of the most essential steps to make your makeup truly look its best, yet it’s one of the steps I most neglect.

Contouring is a trick makeup artists and celebrities use to emphasize their best features. It creates areas of shadow on the face which cause those areas to recede from the eye. This effect allows makeup artists to narrow noses and slenderize the face, chin, and neck. I, for one, certainly benefit from some facial slenderization!


Contouring is one makeup trick that really helps us look our best, so why do I skip it so often? I still haven’t found that perfect contour shade, that one that blends seamlessly with my skin while still creating a noticeable shadow. Not too brown, not too red, not too hard to blend in with my foundation, just right. I still haven’t found that shade, but I have found an exciting new product that comes pretty close.


The finished look! Haha just kidding ;) This picture was taken before blending.

L’oreal True Match Crayon Concealer is a concealer, but I’ve found that this makes a convenient and quick way to contour. What’s fun about this product is you draw with it directly onto the areas of your face where you want to create shadow. (Yes, you’ll look totally crazy for a few minutes, but it pays off!) Then you can smooth and blend the product out with your fingers or a sponge (I’ve been using the pointy end of my beauty blender for this job). It blends out very easily, and the color does a good job of creating a not too dramatic, natural contour.


Picture taken after blending (I went ahead and finished the rest of my makeup). Check out how natural it looks!

While this product still isn’t the holy grail contour I’ve been looking for, it’s a super fast, easy to work with, hard to mess up contour perfect for mornings when you don’t have a ton of time to put on your face.

L’oreal True Match Crayon Concealer is $7.99 and can be found at Target here. The color I use is Medium/Deep Neutral.

I hope you enjoyed this post! Let me know in the comments below what your favorite contour product is, I just might need to give it a try! Don't forget to follow me on bloglovin for me product reviews like this one!

xoxo - Katie